Showing posts with label diy. Show all posts

Wednesday, June 8, 2016

Pencil Cake Banner

For Evelyn's last day of school, I made her a cake with this pencil cake banner.

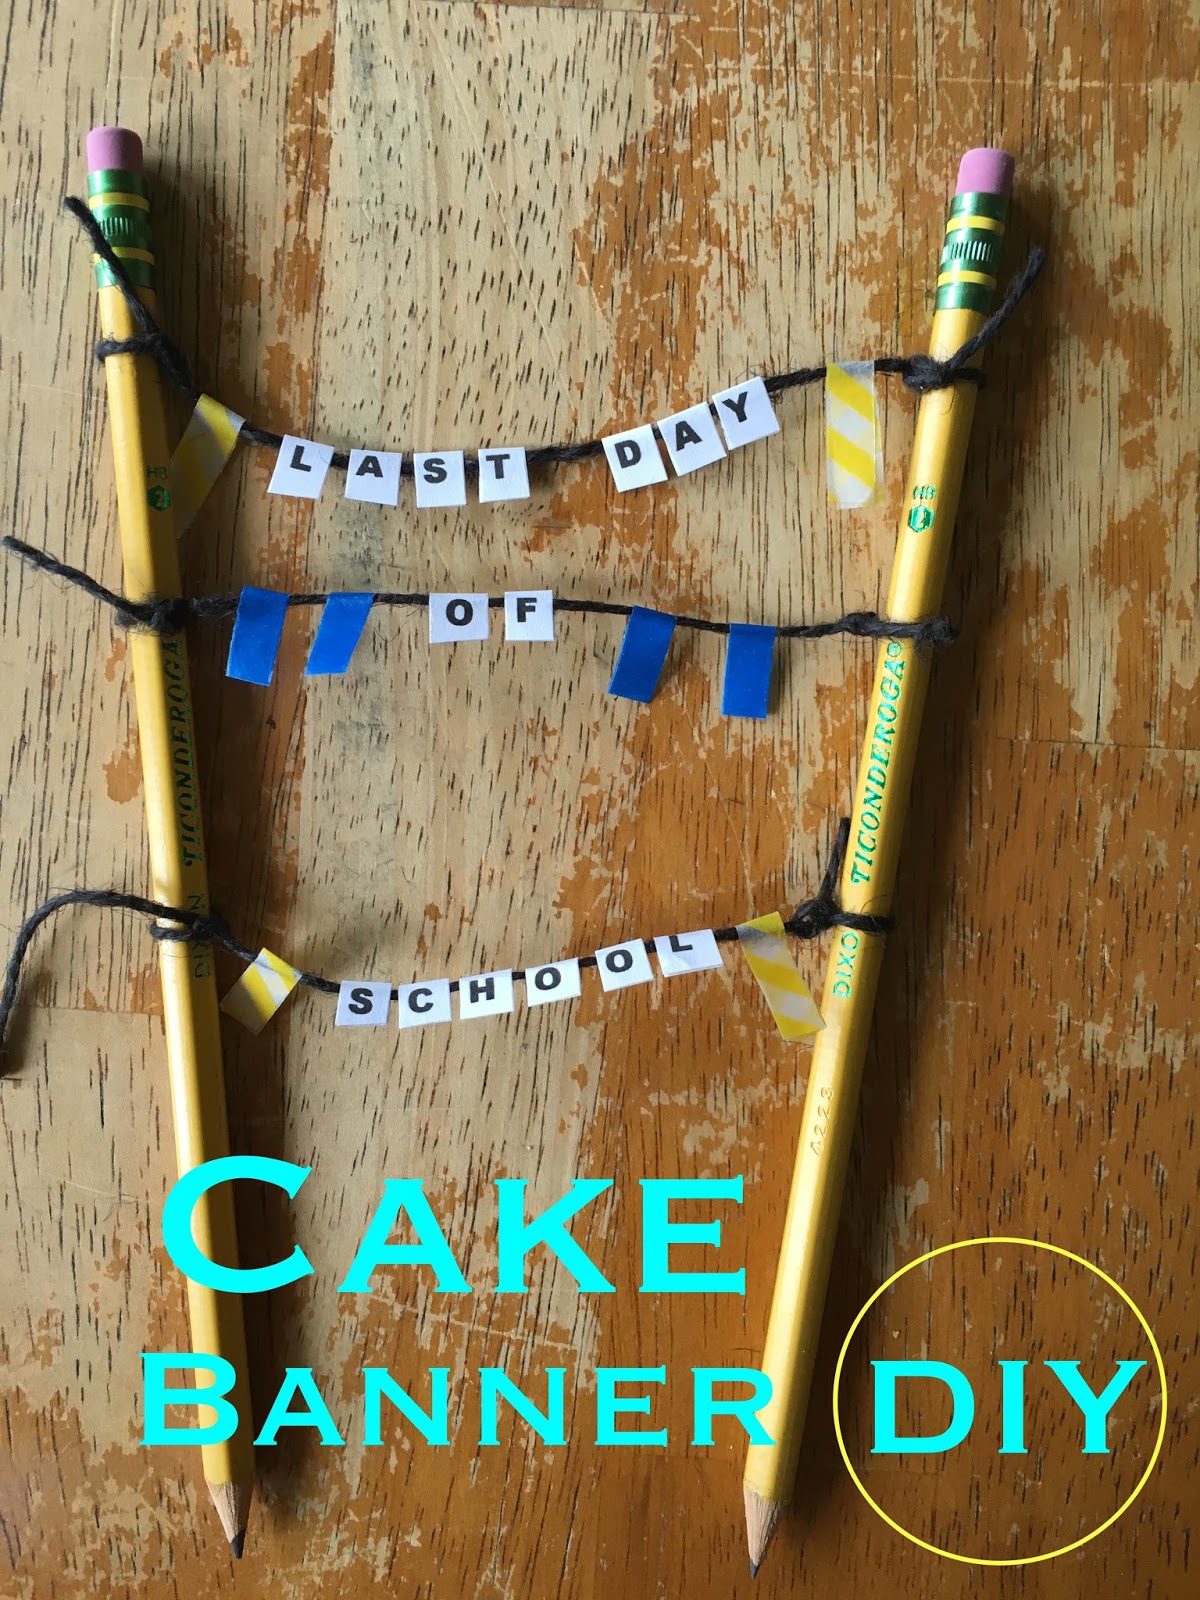
Supplies:
- text you want, 12pt, with double spaces between each letter
- long pencils, preferably sharpened
- string, light weight and any color you want
- scissors
- washi tape
- plastic snack bag or plastic wrap
-double stick tape

- Put double stick tape on the back of your letters and cut them accordingly.
- Measure the distance you need/want for the top of your banner
- Cut three pieces of string, I made each subsequent half an inch shorter to angle the pencils for my small cake.
- Tie the strings to the pencils.
- Add your letters and washi tape.

Wrap the bottoms of your pencils with plastic and double stick tape.

TADA!
Complete!

I'm sorry I didn't get pictures of everything.  I was trying to beat the clock.  I finished this just in time to put it in the cake before I needed to get Evelyn from her last day of school.

Hope y'all liked this.
It was my second cake banner I made, and it turned out better than my last.
I'm getting better!  I hope y'all keep trying to improve also.

Hope to hear from y'all soon!
Thanks for visiting!

Tuesday, February 23, 2016

Less Than 10 Minute DIY Ear Bud Holder

This DIY is probably the fastest, and easiest, way to show love to your ear buds.
I've seen these out and around the internet, so I thought it was time that I made one myself.  I found these mints that I really like, 3 hour mints, and I keep them in the cup holder of my car.  It finished, and I thought I should finally do this project I've been promising to my ear buds.  I like this one better than the regular Icebreakers contain because this one has only one opening.

Supplies
  • empty, clean mint container that opens half way (I'm making two from the Breathsavers 3 Hour Mints)
  • Spare contact paper (hopefully you have some around, if not, scrapbook paper or fabric and decoupage)
  • Alcohol and cotton ball (I found alcohol wipes from my first aid kit)
  • Scissors 
  • Your ear buds


Steps

Eat all the mints!

Take off top label, SET ASIDE.  Clean inside of container.
(Do not remove bottom label, it is not necessary, and my container's bottom label didn't want to come off easily, so I didn't even try.)

Cut the strip of contact paper you need.  One strip did two ear bud holders with front and back labels.


Stick original label to non decorative side of contact paper.

I checked where I wanted the design to be.
This is the first ear bud holder...

and I did the second with a different pattern focus.  

When you've traced four circles...

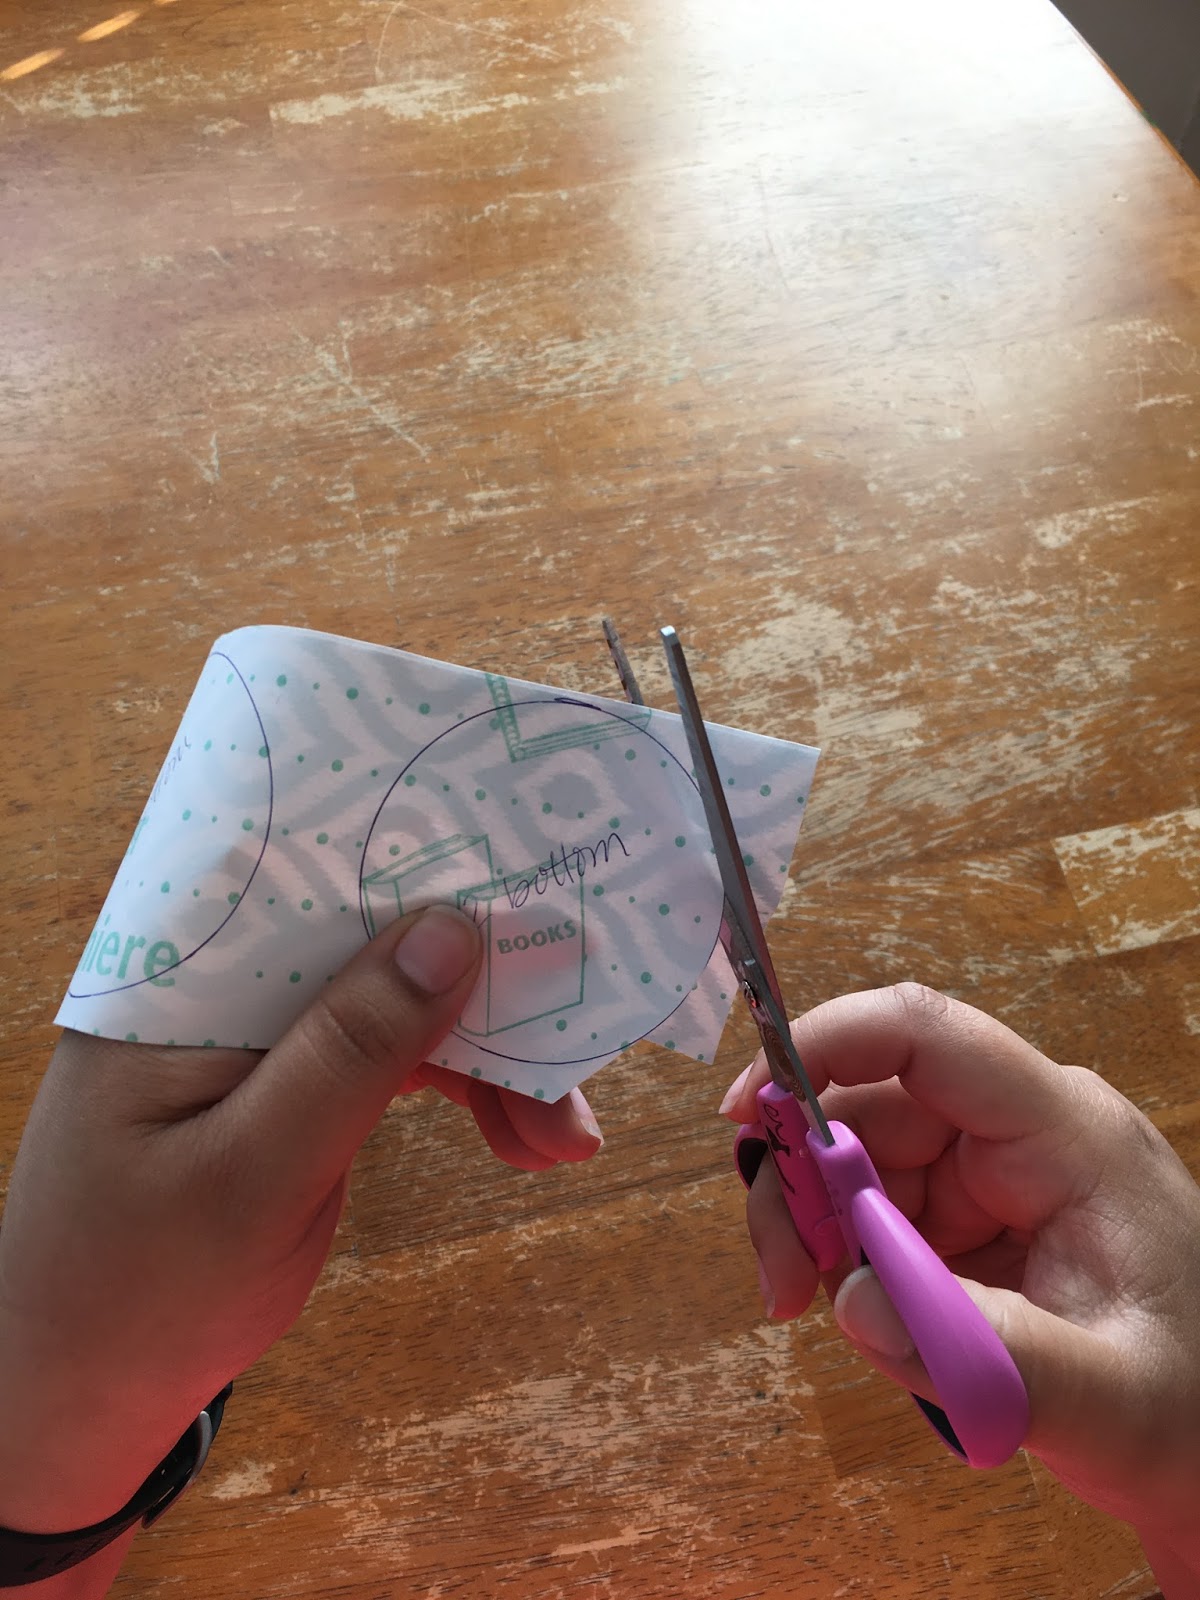
...cut them.

I also, very softly, labeled mine to not get confused.  If you use a solid color or don't care about your pattern, there is no need for labeling.

Wipe clean the areas that you will adhere the decorative paper.  I used one wipe for both tops, and the second for both bottoms.

I threw my scraps as I waited for the containers to air dry.

Stick the contact paper onto the container.  I started with the top.

Readjust as needed to find center.
(A reminder, the top label is supposed to lap over the lid, just like the original.  If you don't want that, a simple trim will change that.)

Cover the back.
I didn't worry too much about centering this side, but it turned out more centered with the one try than the front did.


 Wrap your ear buds...
...tuck in.

 Tuck them into their new sweet little home.

All closed up and you can't tell which one has the ear buds.
They stayed tucked away in a hard case while not in use!

You now have an awesome little house for your ear buds that is tough and unique because it was made by YOU!


I hope you enjoyed this tutorial!
Please share and tell me about accessories
you've made for your ear buds and/or phones,
or how this tutorial turned out for you.
I want to hear from y'all, always!

*Update!  I recently used this on a 15 hour road trip and also on a flight across the country.  I loved having these.  They held up nicely and I didn't ever worry if my ear puds were getting crushed in my bag while traveling.