Excuse my lateness!
The new Girl Scout year has officially begun!
This year we have added something to our weekly activities and I'm really liking it.
Last year, our first year as a troop, we had a floppy folder for the girls' journeys.
This year, we have implemented having a regular 1 inch white binder they use for every activity.
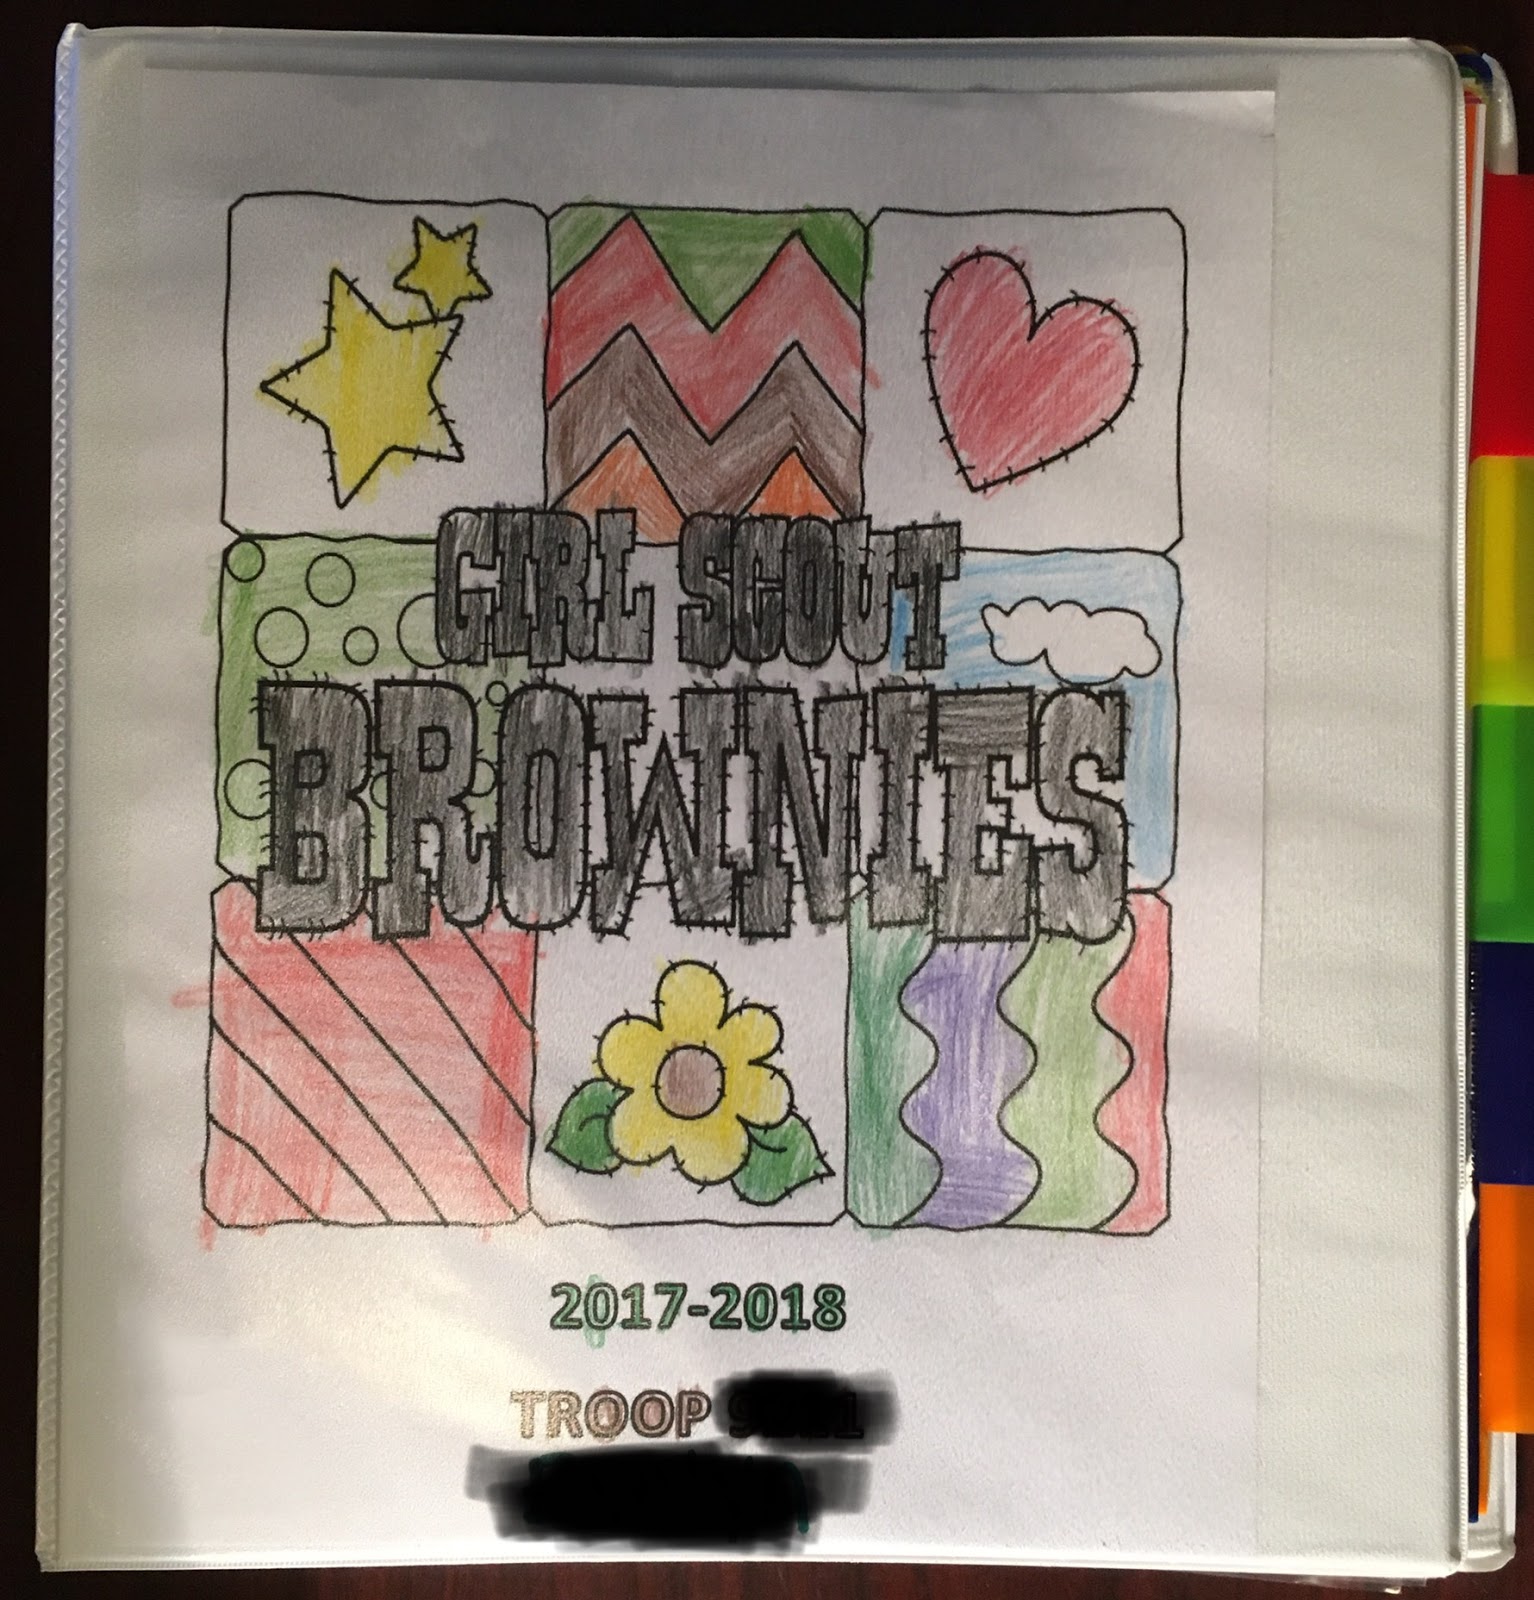
This is Evelyn's binder. Since she has bridged to Brownies, her cover page is a Brownie "quilt."
Daisies have their own design on their binder.

There is a lot going on here first thing. We have Daisy Dollars/Brownie Bucks in the pocket. These are dollars the girls can earn by being a good Girl Scout. They can use them to "buy" items from the treasure chest for $5 each.
The page in the pocket, is the activity we just had. October is anti-bully month and, for the second year in a row, we have had the girls make a blue pinkie promise to not bully and to help stop bullying. This pledge page was sent home to be colored and signed, and will be put further into the binder when complete.
The first page of each binder is the current month's calendar. On the calendar, the girls will see all meetings, field trips, birthdays, due dates, times for said things, and snack and drink assignments. This year we have more girls so snack and drink is now a shared task.

Next page is their level.
(Evelyn's coloring has improved, even over the summer! I'm so excited!)

First divider is the Girl Scout Promise and Girl Scout Law

We had found this picture with the flowers, covered what was there, and added in the GS Law.

The next divider is the "Girl Scout Song Book."

This section has the songs the girl have learned...

...and more will be add through their Girl Scout years...

...as they learn more.
The girls are responsible to bring this binder to every meeting.
This is one reason I like this; Girl Scouts is supposed to teach girls how to be responsible and be leaders, and this binder is a help in that effort.
This year, again, Girl Scouts is selling started kits with cinch bags. Starter kits include; vest/tunic/sash, waving flag, council ID, troop numbers, trefoil pin, membership pin, insignia tab, one journey book, and, new to the line, a levels binder. Since all the girls have purchased a starter kit, either this year or last, they all have a bag they can carry their binder in.
Tips for the Girl Scout Mom/Leader
Tired of your girl forgetting her vest when you're trying to get your own things together?

Keep her vest in her cinch bag. If you didn't buy the starter kit, you can find pretty cinch bags at Dollar Tree. Having a cinch bag also means she can bring all her projects from activities home without so much complications.

On this year's cinch bag, there are blank trefoil shapes. I put Evelyn's name, our council initials, our troop number, "Brownie," and the years she will be a Brownie [2017-2020], and had one left for something I might think of later. I used an Elmer's medium point painters marker from Walmart. (Find it in this pretty sky color here.)
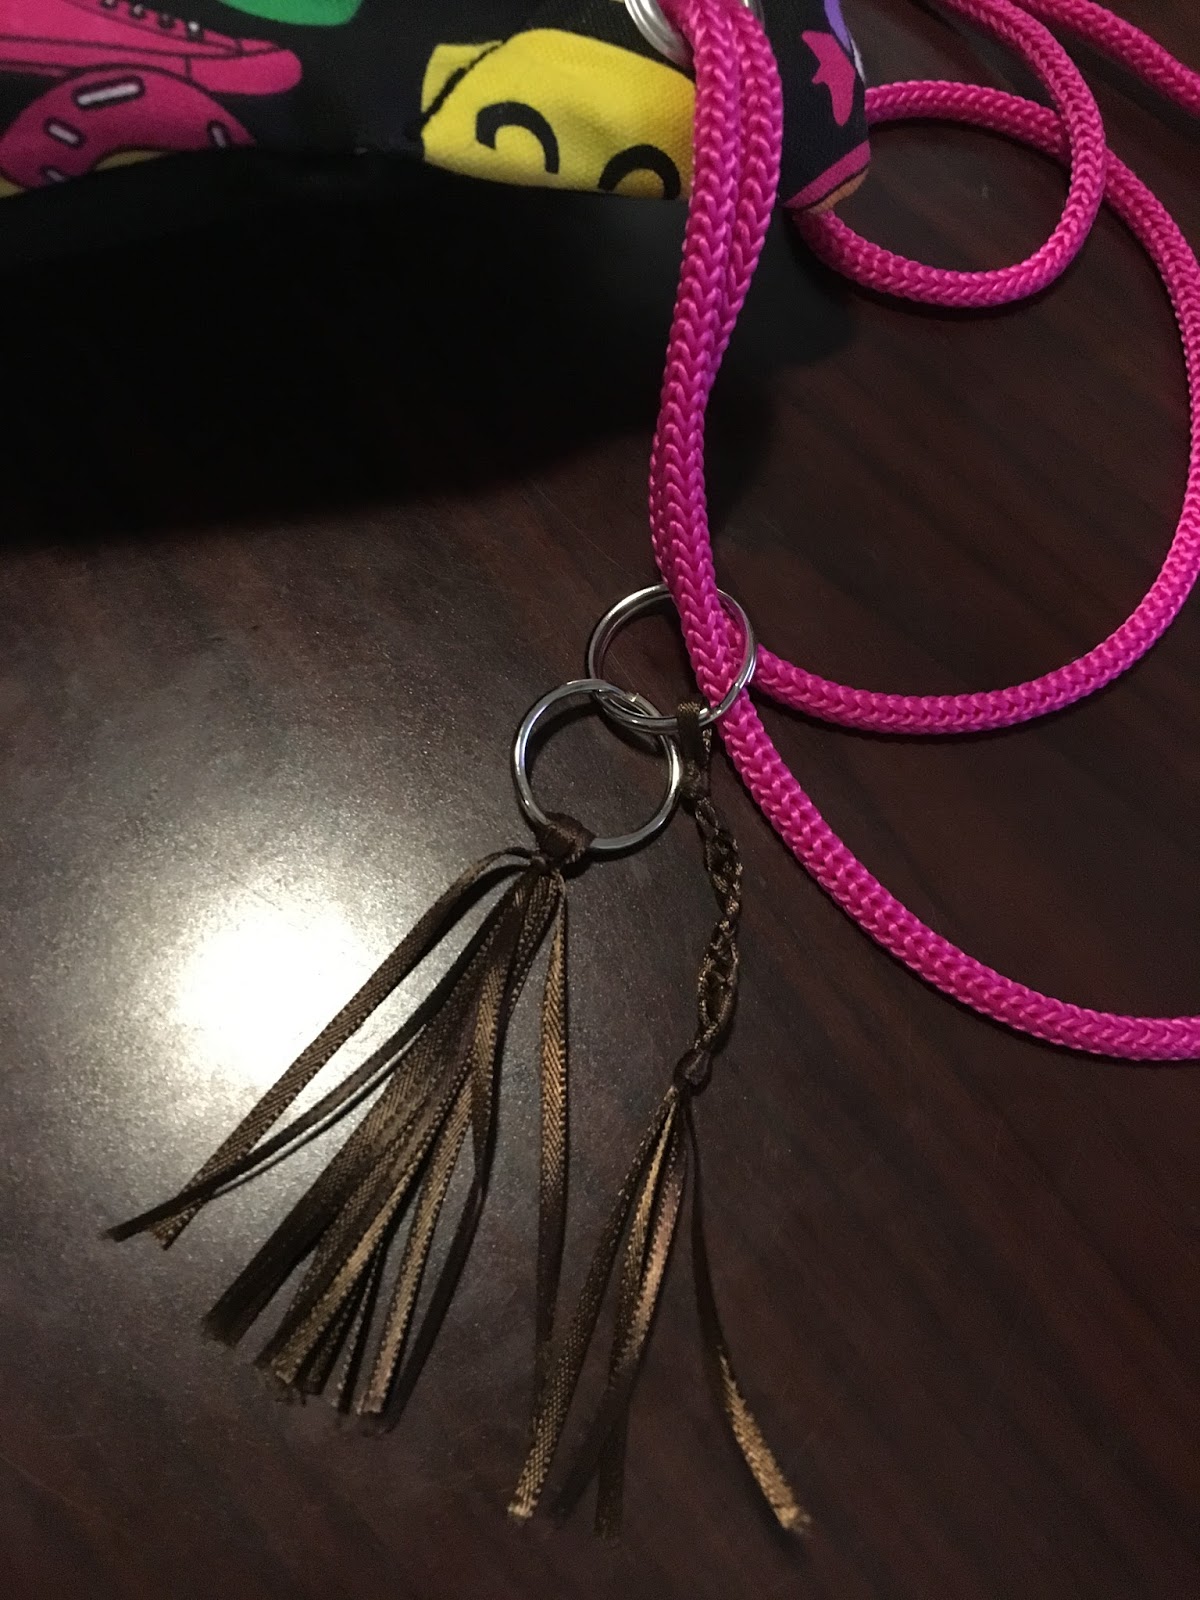
I also added these little ribbon key chains to the cords of one side.
I did both these things to spot Evelyn's bag easier since the only difference between cinch bags just might only be the color.
Last tip for the day!
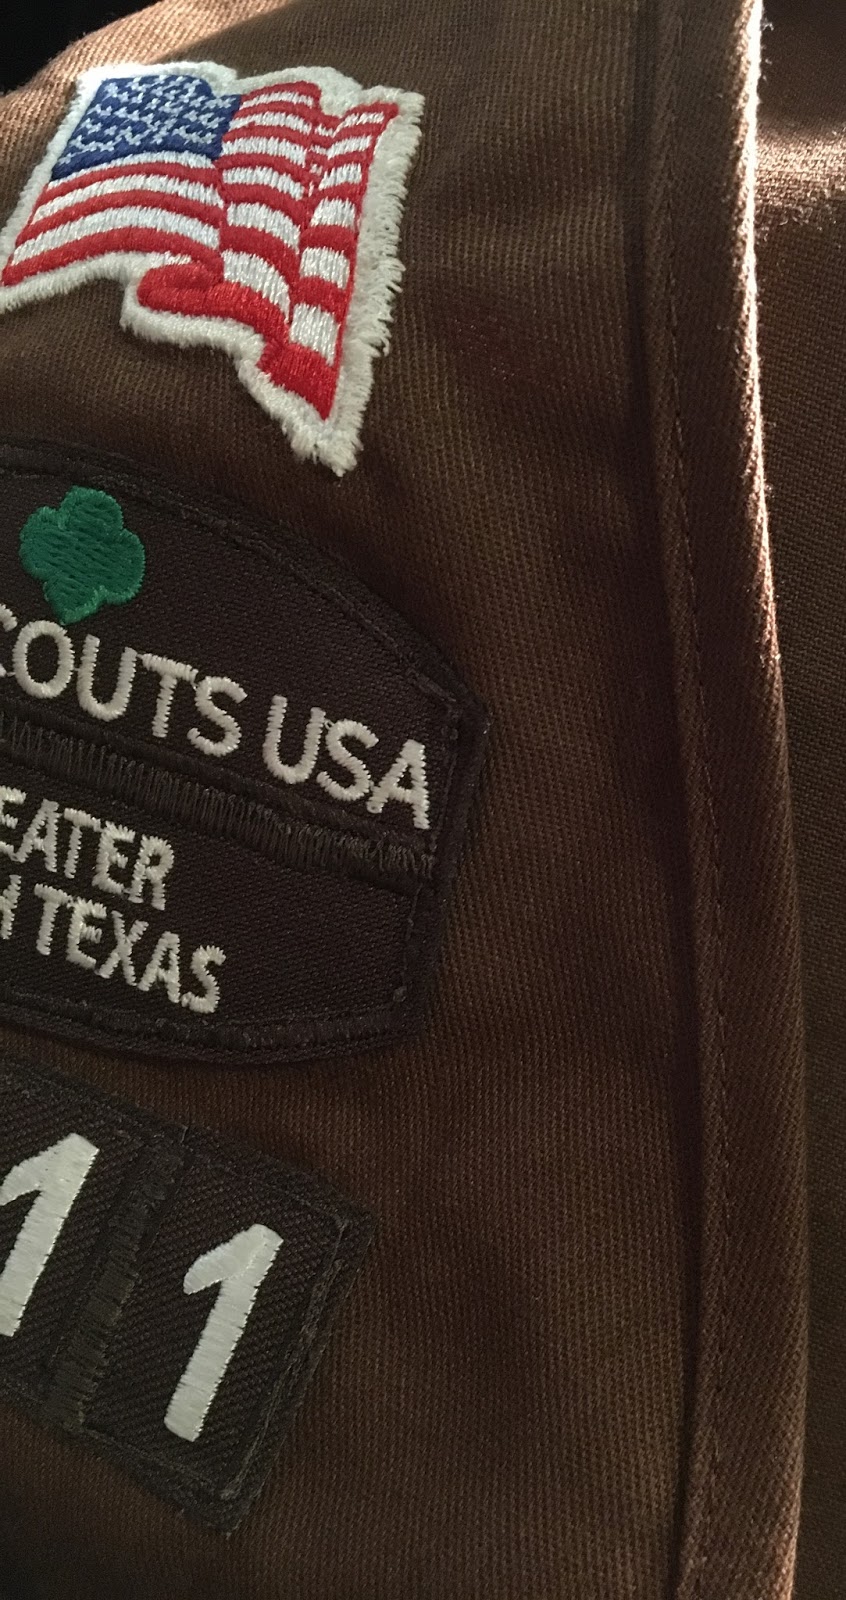
Sew all your front patches on. I used double stick tape and little strips of paper to hold together the numbers and council ID as I sewed. I sewed a regular straight stitch around and a zig-zag stitch where they needed to connect. For the flag, that was a little different. To keep it cleaner, I didn't want white stitching on the red stripes, I did a tight zig-zag stitch around the flag. It makes it look fuzzy but I like that better than white stitching on the red or blue field.
I don't know why, but Evelyn's were the only patches not to come off from the front in our troop this last year. Her fun patches on the back have been coming off though, from her Daisy tunic. I decided to not even attempt to iron on patches this year. I'm sewing them all, but I know that can be a lot, so I am advising to sew at least the front patches since they are the most important, especially for ceremonies. You don't want patches falling off during a ceremony. We ran into that during our start of the year ceremony.
I don't know why, but Evelyn's were the only patches not to come off from the front in our troop this last year. Her fun patches on the back have been coming off though, from her Daisy tunic. I decided to not even attempt to iron on patches this year. I'm sewing them all, but I know that can be a lot, so I am advising to sew at least the front patches since they are the most important, especially for ceremonies. You don't want patches falling off during a ceremony. We ran into that during our start of the year ceremony.
Hope all this was helpful, in the least, informative!
Can't wait to hear from y'all!